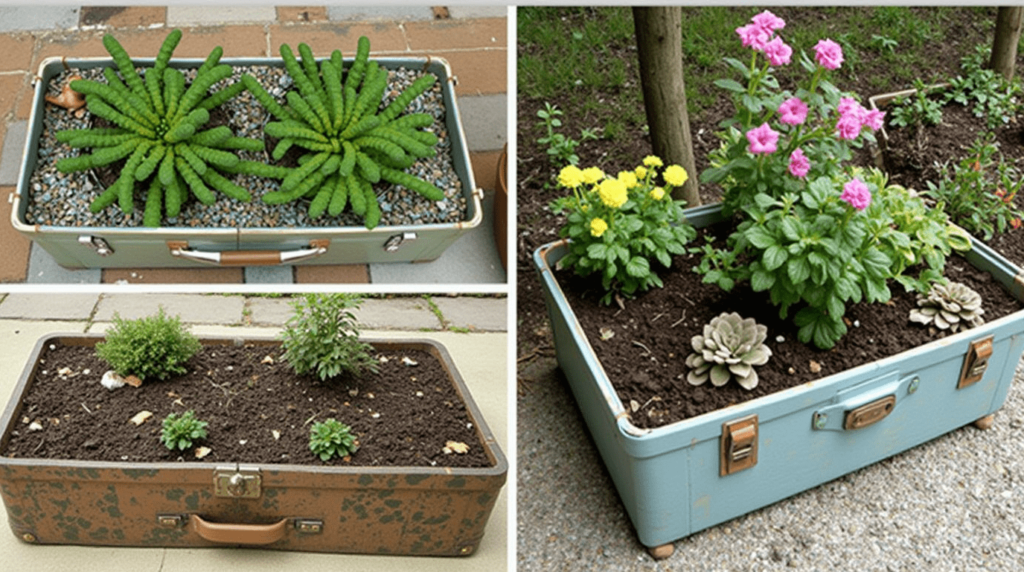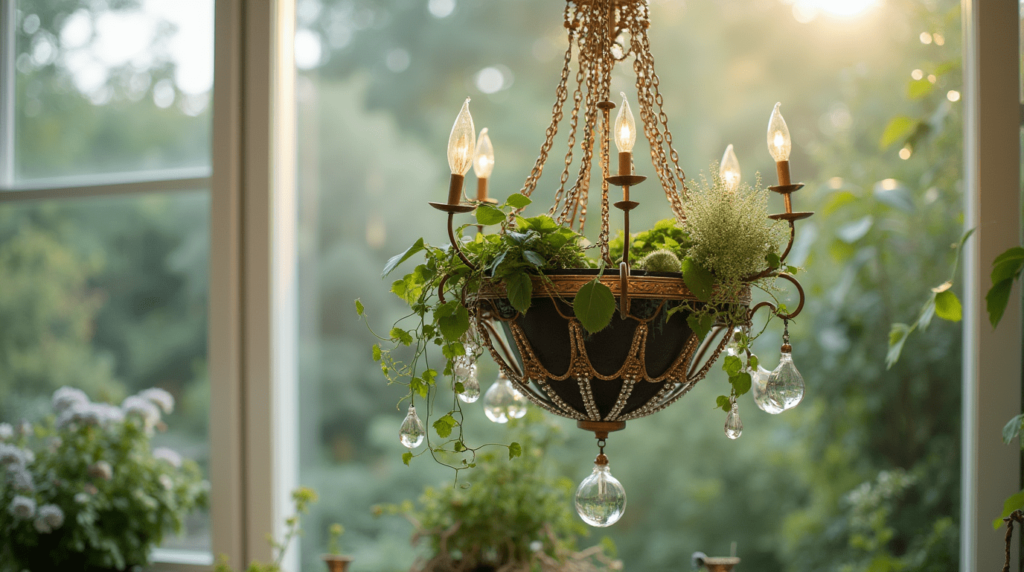
Have you ever passed by an ornate chandelier at a thrift store and imagined it dripping with lush greenery instead of crystals? Creating a chandelier planter by removing electrical components and planting within the decorative frame transforms outdated light fixtures into stunning hanging gardens. This creative upcycling project adds an unexpected touch of elegance to porches, garden arbors, and interior spaces while giving new life to vintage pieces that might otherwise be discarded.
Why Chandelier Planters Have Become Designer Favorites
Garden designers and home decorators are increasingly drawn to repurposed lighting fixtures, with chandelier planters emerging as statement pieces for several compelling reasons:
- Ornate structural support: Chandelier frames naturally provide multiple planting opportunities
- Unexpected elegance: The juxtaposition of formal lighting elements with casual plantings creates visual interest
- Vintage appeal: Particularly when using ornate brass or crystal chandeliers with patina
- Vertical impact: Creates dramatic hanging focal points in garden spaces
According to recent home design trends, statement planters have increased in popularity by 68% over the past year, with repurposed vintage items leading this movement. Interior designers report that chandelier planters especially appeal to those seeking one-of-a-kind garden art that tells a story.
Materials Needed for Your Chandelier Planter Project
Before beginning your transformation, gather these essential supplies:
| Basic Materials | Optional Enhancements | Tools Required |
|---|---|---|
| Vintage chandelier | Spray paint for customization | Wire cutters/pliers |
| Potting soil | Decorative moss | Screwdriver set |
| Selection of cascading plants | Small air plants or succulents | Protective gloves |
| Small planting containers | Decorative stones | Safety glasses |
| Wire or fishing line | Solar-powered fairy lights | Wire brush for cleaning |
| Heavy-duty hanging hook | Waterproof sealant | Sandpaper |
“The most memorable garden features surprise us by reimagining familiar objects in unexpected ways. A chandelier planter does exactly this—it elevates something decorative into something both beautiful and functional.” – Garden & Home Design Magazine
Step-by-Step Guide to Creating Your Chandelier Planter
1. Selecting and Preparing Your Chandelier
The foundation of your hanging garden begins with choosing the right chandelier:
- Metal chandeliers: Offer durability and often feature multiple arms for planting
- Crystal chandeliers: Provide sparkle and reflection when interspersed with plants
- Wooden chandeliers: Create a rustic look but require waterproofing
- Modern fixtures: Can create contemporary planting displays with clean lines
Before planting, safely prepare your chandelier:
- Carefully remove all electrical components (wiring, sockets, bulbs)
- Thoroughly clean the frame with appropriate cleaner based on material
- Remove any unstable decorative elements that might fall
- Sand rough edges for safety
- Apply rust inhibitor to metal chandeliers if using outdoors
- Consider applying spray paint for a cohesive color scheme
- Add waterproof sealant if necessary for outdoor use
Safety tip: Always ensure all electrical components are completely removed and fixture is safe for repurposing before proceeding with your project.
2. Creating Planting Pockets Within the Frame
Transform the chandelier structure to accommodate plants:
Planting Container Options:
- Small plastic pots: Can be secured within chandelier arms
- Coconut fiber liners: Shaped to fit chandelier cups
- Tea cups or small vessels: For an eclectic, whimsical look
- Air plant mounts: For no-soil options on suitable chandeliers
To create planting areas:
- Identify natural planting pockets where candle cups or light bulbs were positioned
- Line these areas with appropriate containers or planting material
- Secure containers to frame using wire, zip ties, or adhesive as needed
- Ensure all components are stable before adding soil and plants
- Create drainage solutions for each planting pocket
Design tip: For outdoor chandeliers, ensure water can drain freely through the fixture to prevent rust or deterioration.
3. Hanging System Installation
Ensuring your chandelier planter hangs securely is critical for safety and longevity:
Hanging Considerations:
- Weight assessment: Calculate total weight when fully planted and watered
- Mounting location: Choose sturdy support that can handle the weight
- Balance testing: Ensure chandelier hangs level before finalizing
- Weather protection: Consider partial shelter for outdoor installations
For secure installation:
- Replace original hanging chain with stronger hardware if necessary
- Use appropriate ceiling hooks or garden supports rated for the weight
- Consider swivel hooks to allow rotation for even growth and display
- Test weight capacity with water-filled containers before planting
Safety reminder: Never hang chandelier planters from electrical boxes or fixtures not rated for the weight.
4. Plant Selection and Arrangement
Choosing appropriate plants dramatically impacts your chandelier planter’s visual appeal:
Best Plants for Chandelier Planters:
| Plant Type | Varieties | Special Features |
|---|---|---|
| Trailing Vines | Pothos, String of Pearls, Ivy | Create dramatic cascading effect |
| Air Plants | Tillandsia varieties | Require no soil, just occasional misting |
| Small Succulents | Echeveria, Sedum, Haworthia | Low water requirements |
| Small Ferns | Button Ferns, Maidenhair | Add delicate texture |
For maximum visual impact, consider these planting strategies:
- Symmetrical arrangement: Similar plants placed evenly around the chandelier
- Graduated lengths: Shorter plants on top tiers, longer trailing varieties below
- Color echoing: Plants that complement or contrast with chandelier finish
- Textural contrast: Mixing fine-textured plants with bold-leaved varieties
For gardeners seeking additional dramatic upcycled elements, tire planters offer interesting possibilities. Paint old tires in bright colors and stack for tiered planters that create a bold ground-level counterpoint to your elegant hanging chandelier feature.
Maintenance Tips for Thriving Chandelier Gardens
Keep your chandelier planter looking its best with these care practices:
Watering Considerations:
- Use a step stool and long-spouted watering can for safe access
- Consider taking fixture down for thorough watering and draining
- If indoors, remove fixture to sink or tub for watering to avoid drips
- For outdoor chandeliers, ensure they dry completely after rainfall
Care Schedule:
- Monitor soil moisture every 3-4 days during growing season
- Apply liquid fertilizer monthly at half-strength
- Prune trailing plants to maintain desired length and fullness
- Check hardware and connections monthly for security
Creative Variations to Consider
Customize your chandelier planter with these inspiring ideas:
- Holiday decorating: Add seasonal elements among the plants
- Mini-habitat: Create a themed planting like a fairy garden
- Multiple fixtures: Hang chandeliers at varying heights for dramatic effect
- Lighting integration: Add solar fairy lights or battery-operated LEDs among plants
Creating a chandelier planter transforms a once-functional lighting fixture into a spectacular hanging garden that showcases your creativity and environmental consciousness. This sophisticated upcycling project requires minimal investment while yielding a conversation piece that adds unique character to any space.
Have you created planters from unexpected repurposed items? Share your projects in the comments below! For more upcycling inspiration, check out our guides on creating colander hanging planters or transforming old kitchenware into unique garden features.